
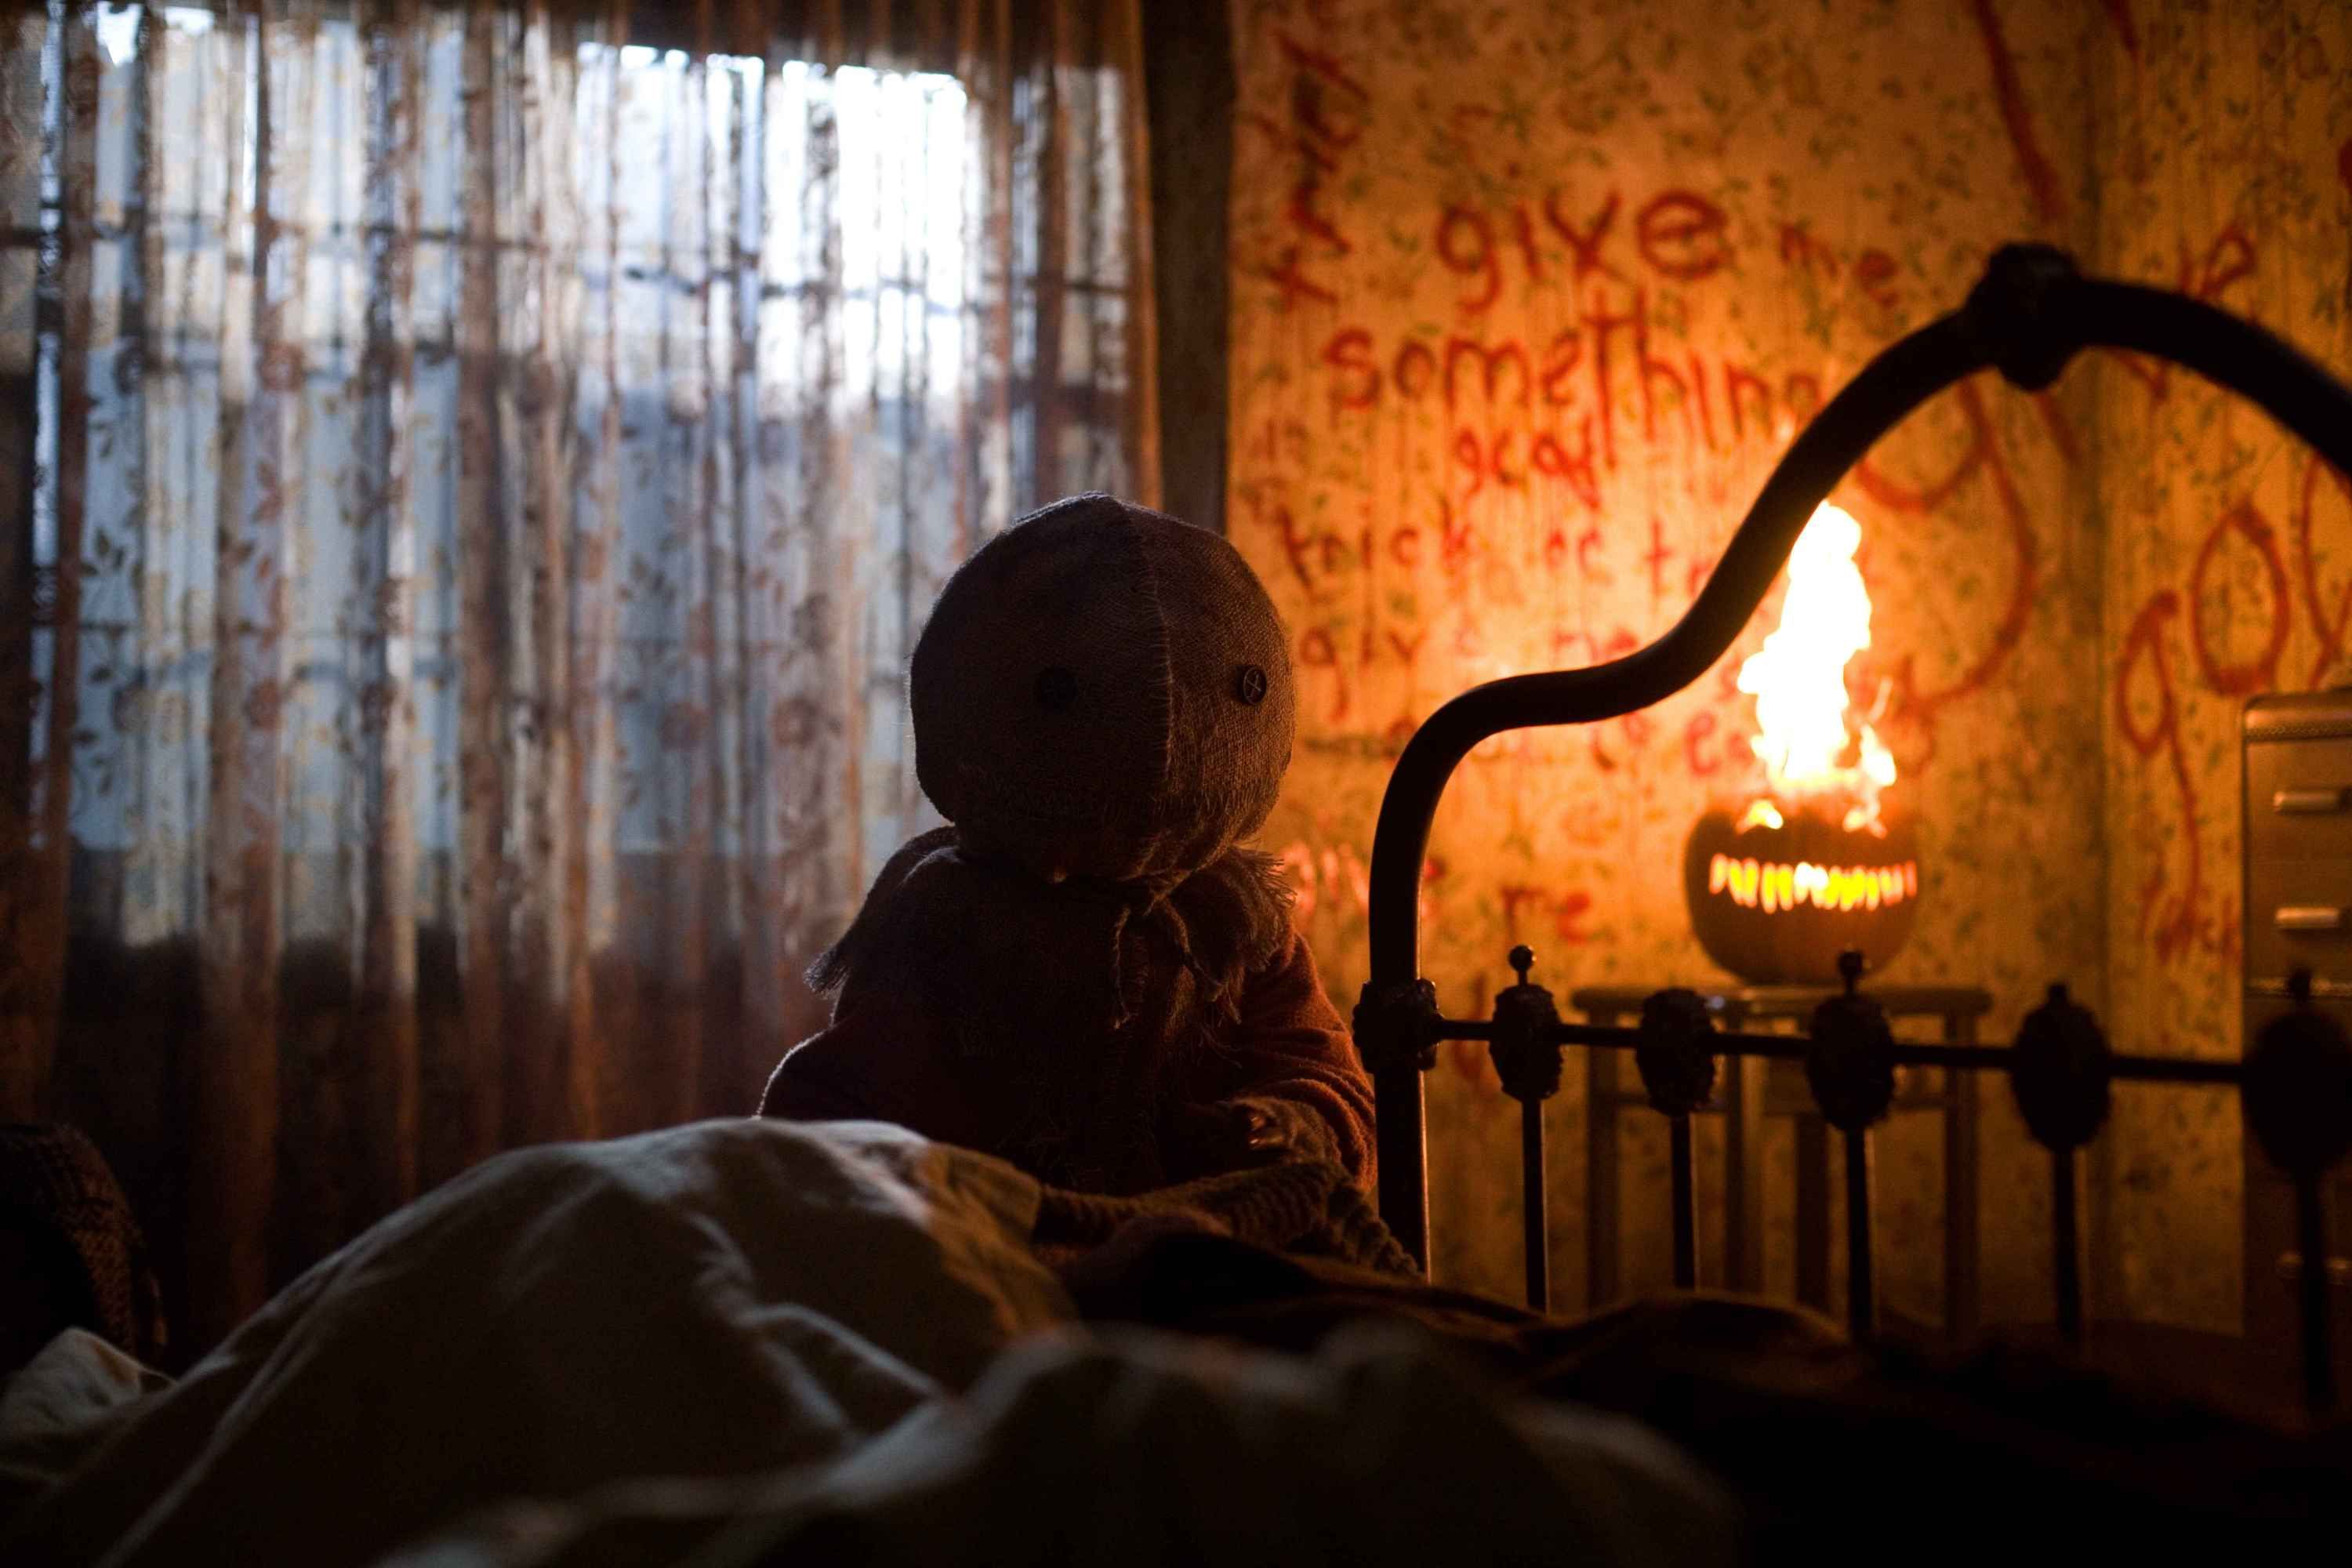
When we finished this project last night, Erin confided in me that she was a little apprehensive when I brought up the idea of building Sam from the film Trick ‘r Treat for Halloween…A week from Halloween. And while I wouldn’t be making this post if we hadn’t finished it on time, I’ll admit that I, too, was a little afraid of having a halfway built boy in our garage while trick or treaters lined our sidewalk on Halloween night.
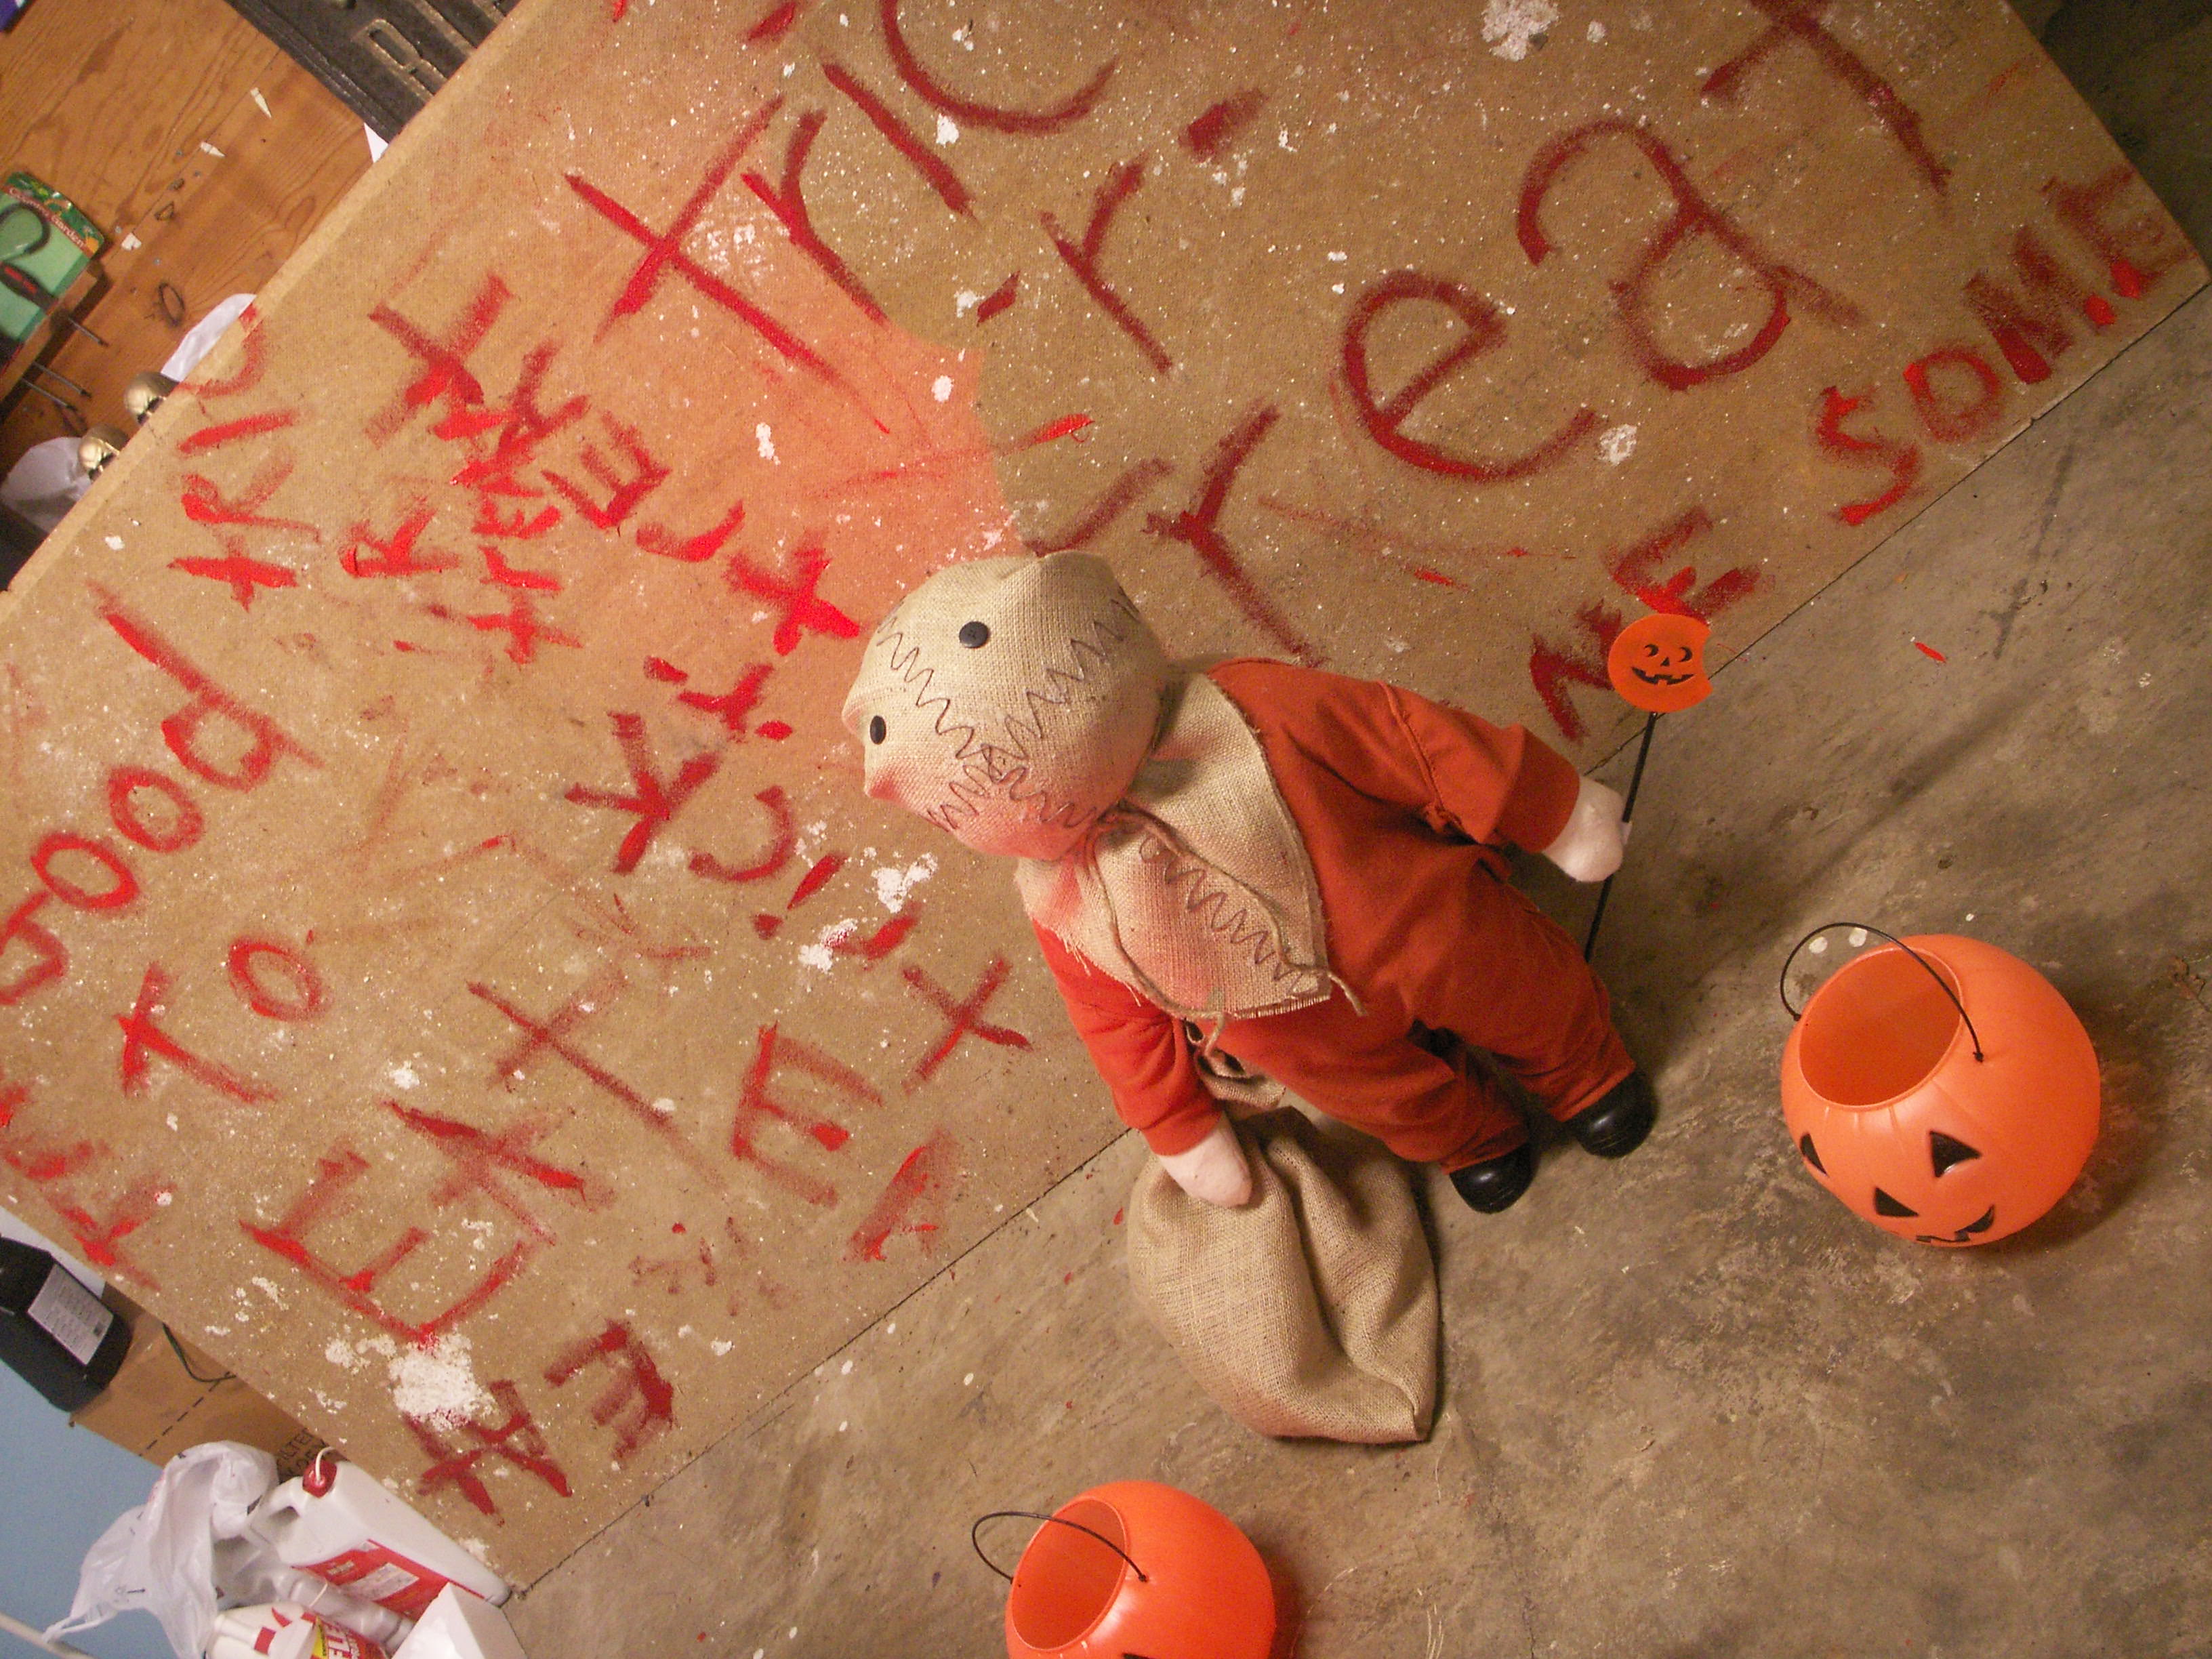
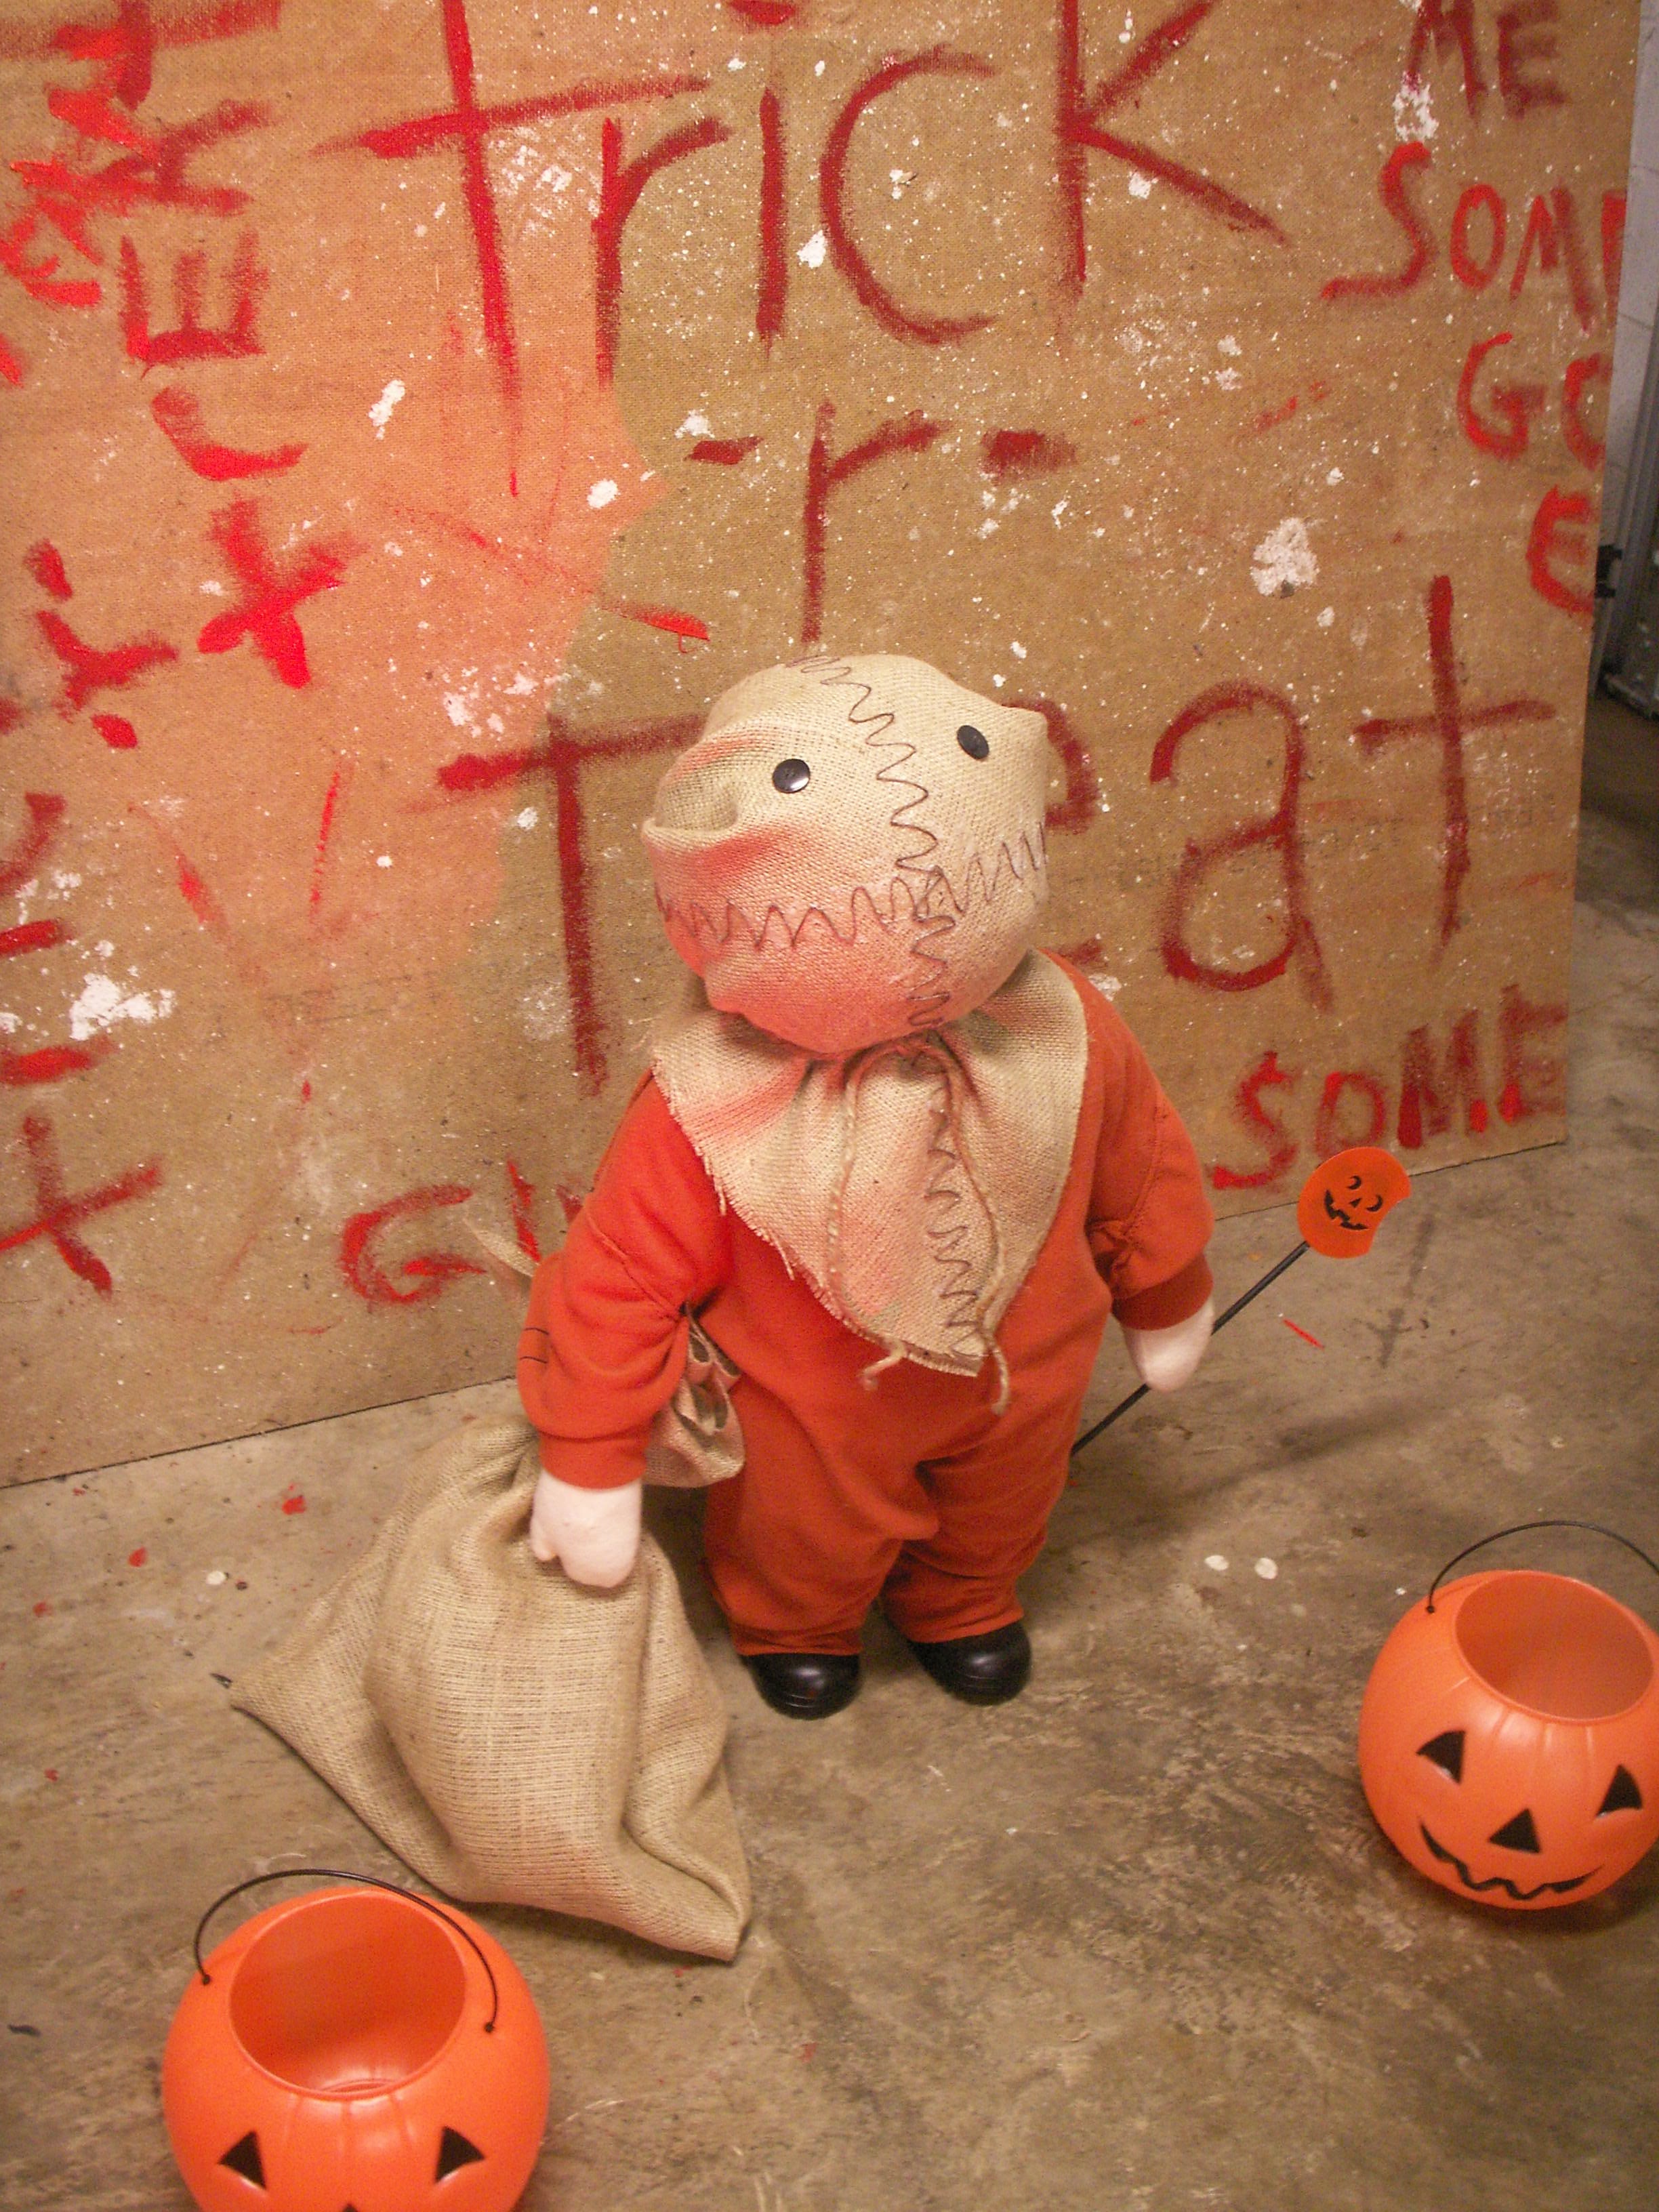
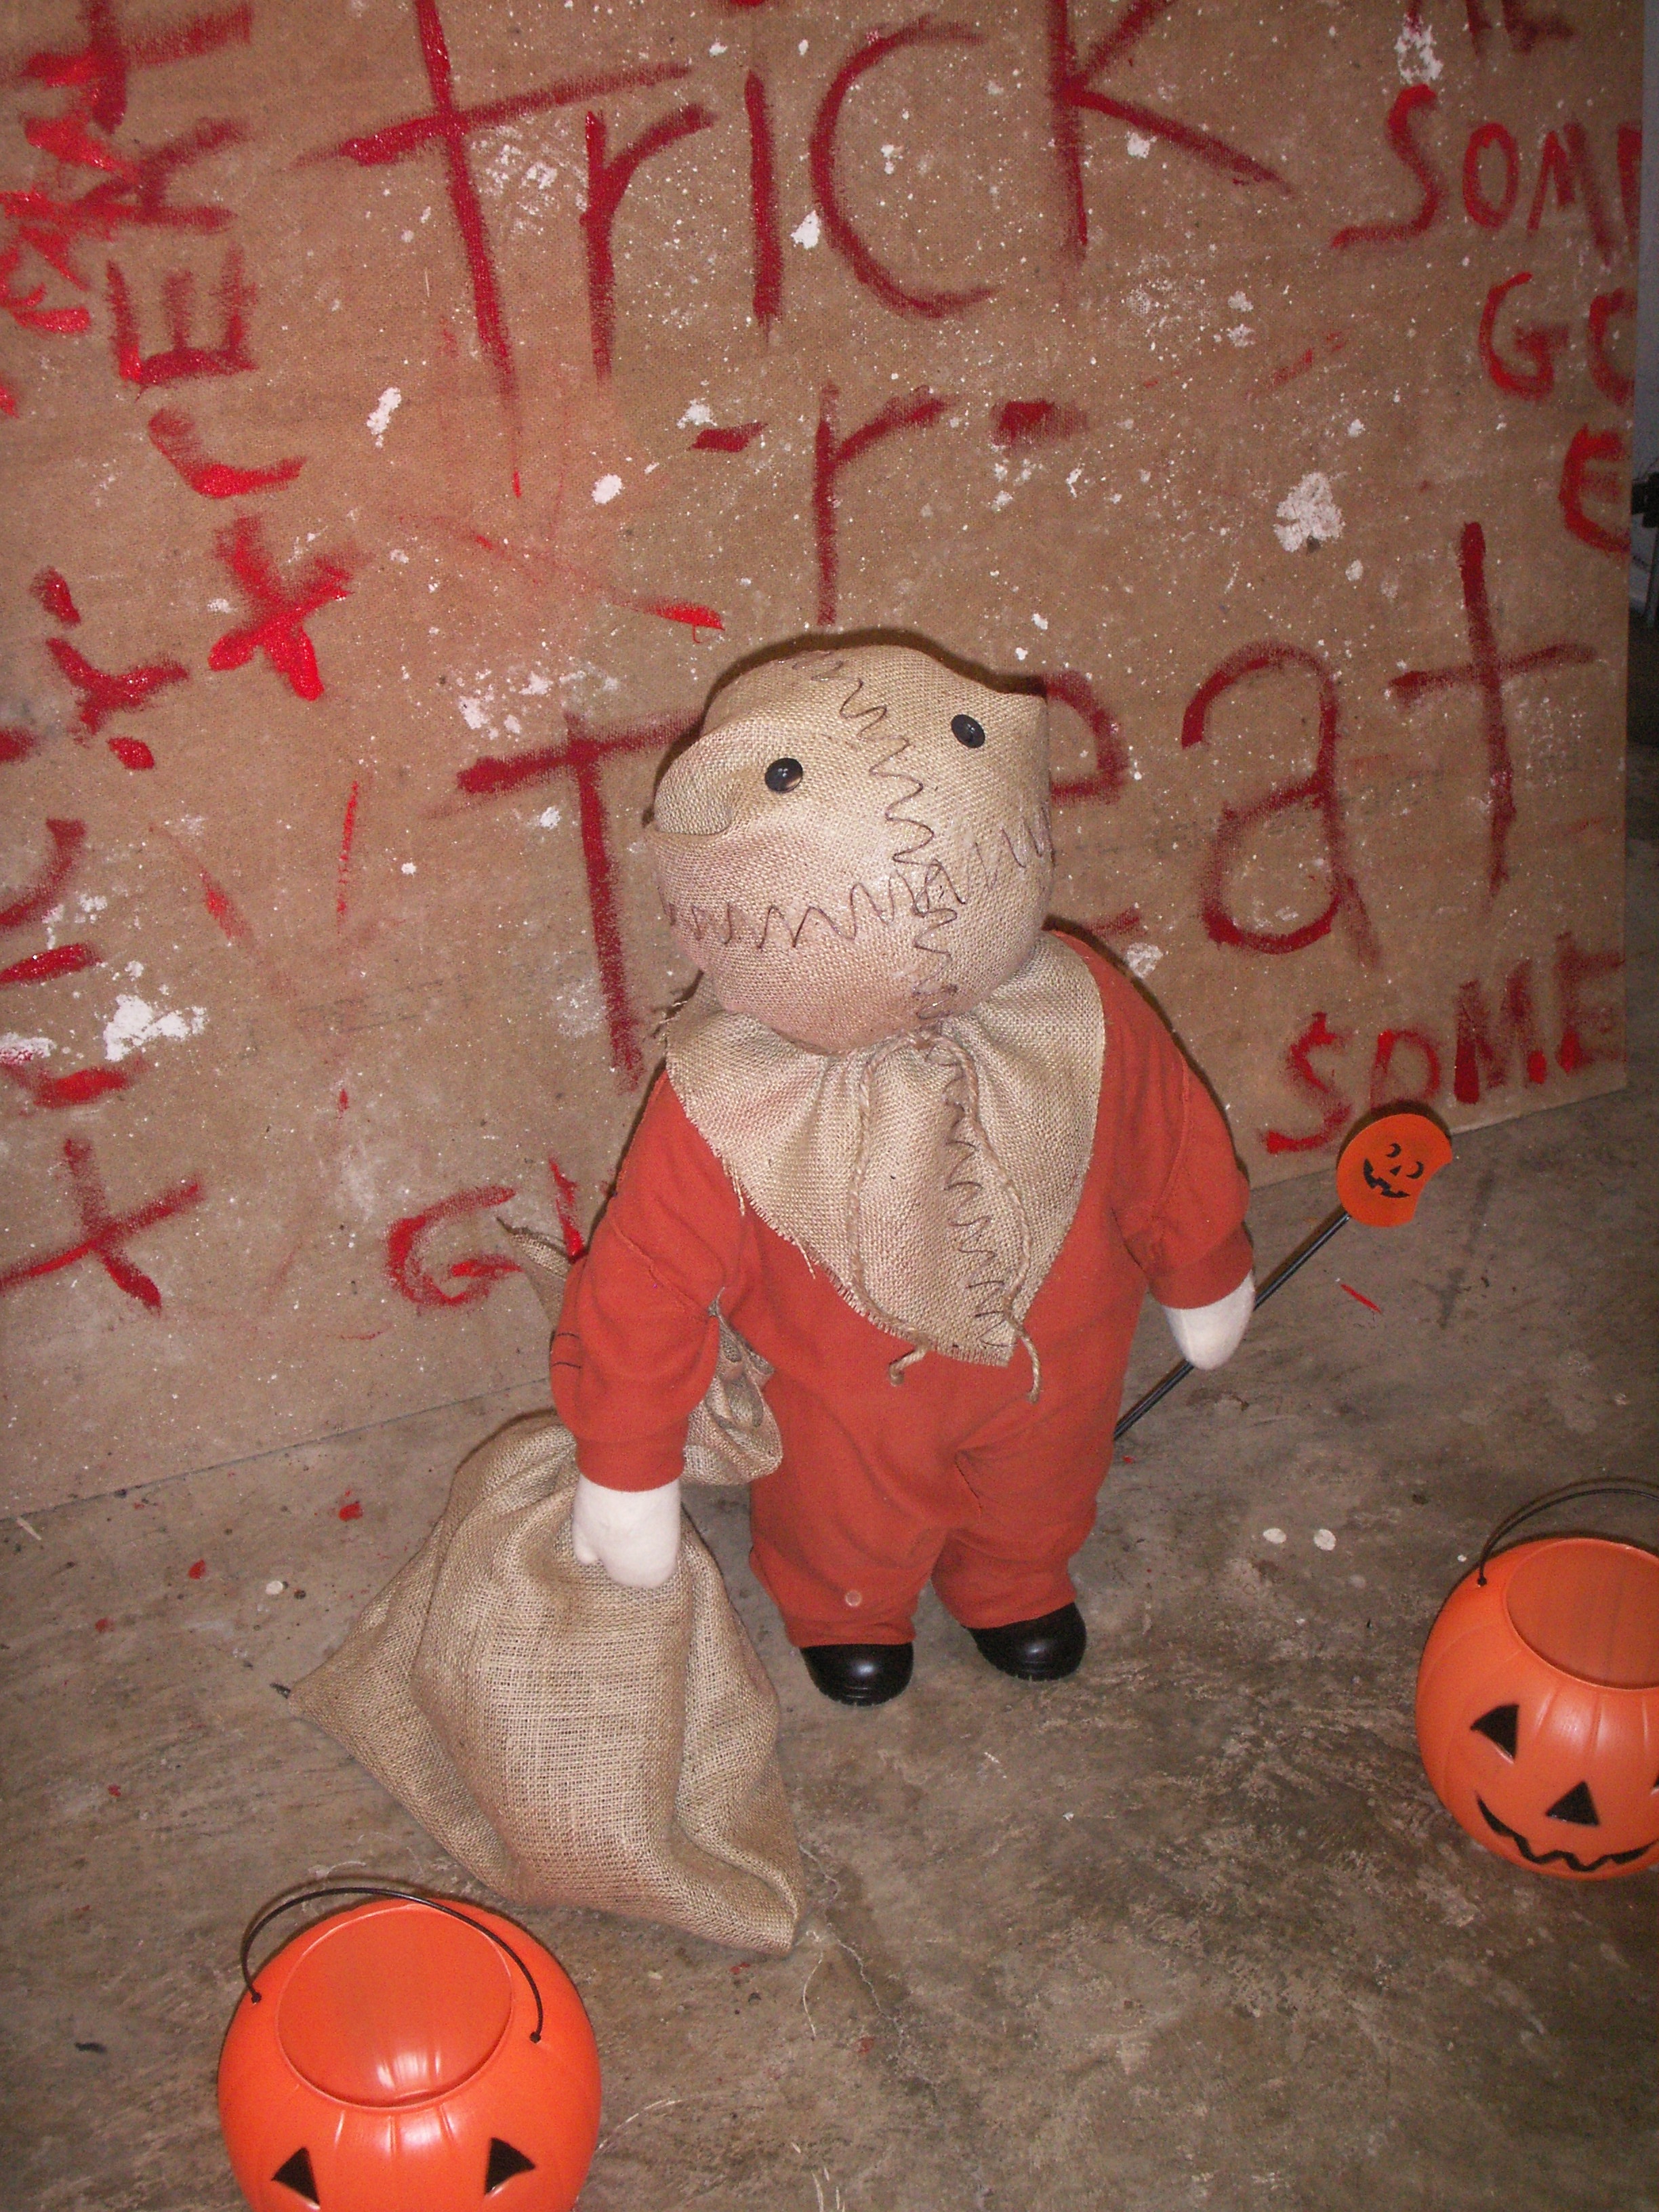
After cleaning out my storage building last weekend, I got this bright idea that I was going to take some of the scrap wood I had found and make a small boy to stand in front of another piece of wood I had also found in the building that would act as the bedroom from the famous Trick ‘r Treat poster art. I would easily find the clothing and accessories over the course of a couple of hours and we’d have the coolest house in the ‘hood on Halloween.
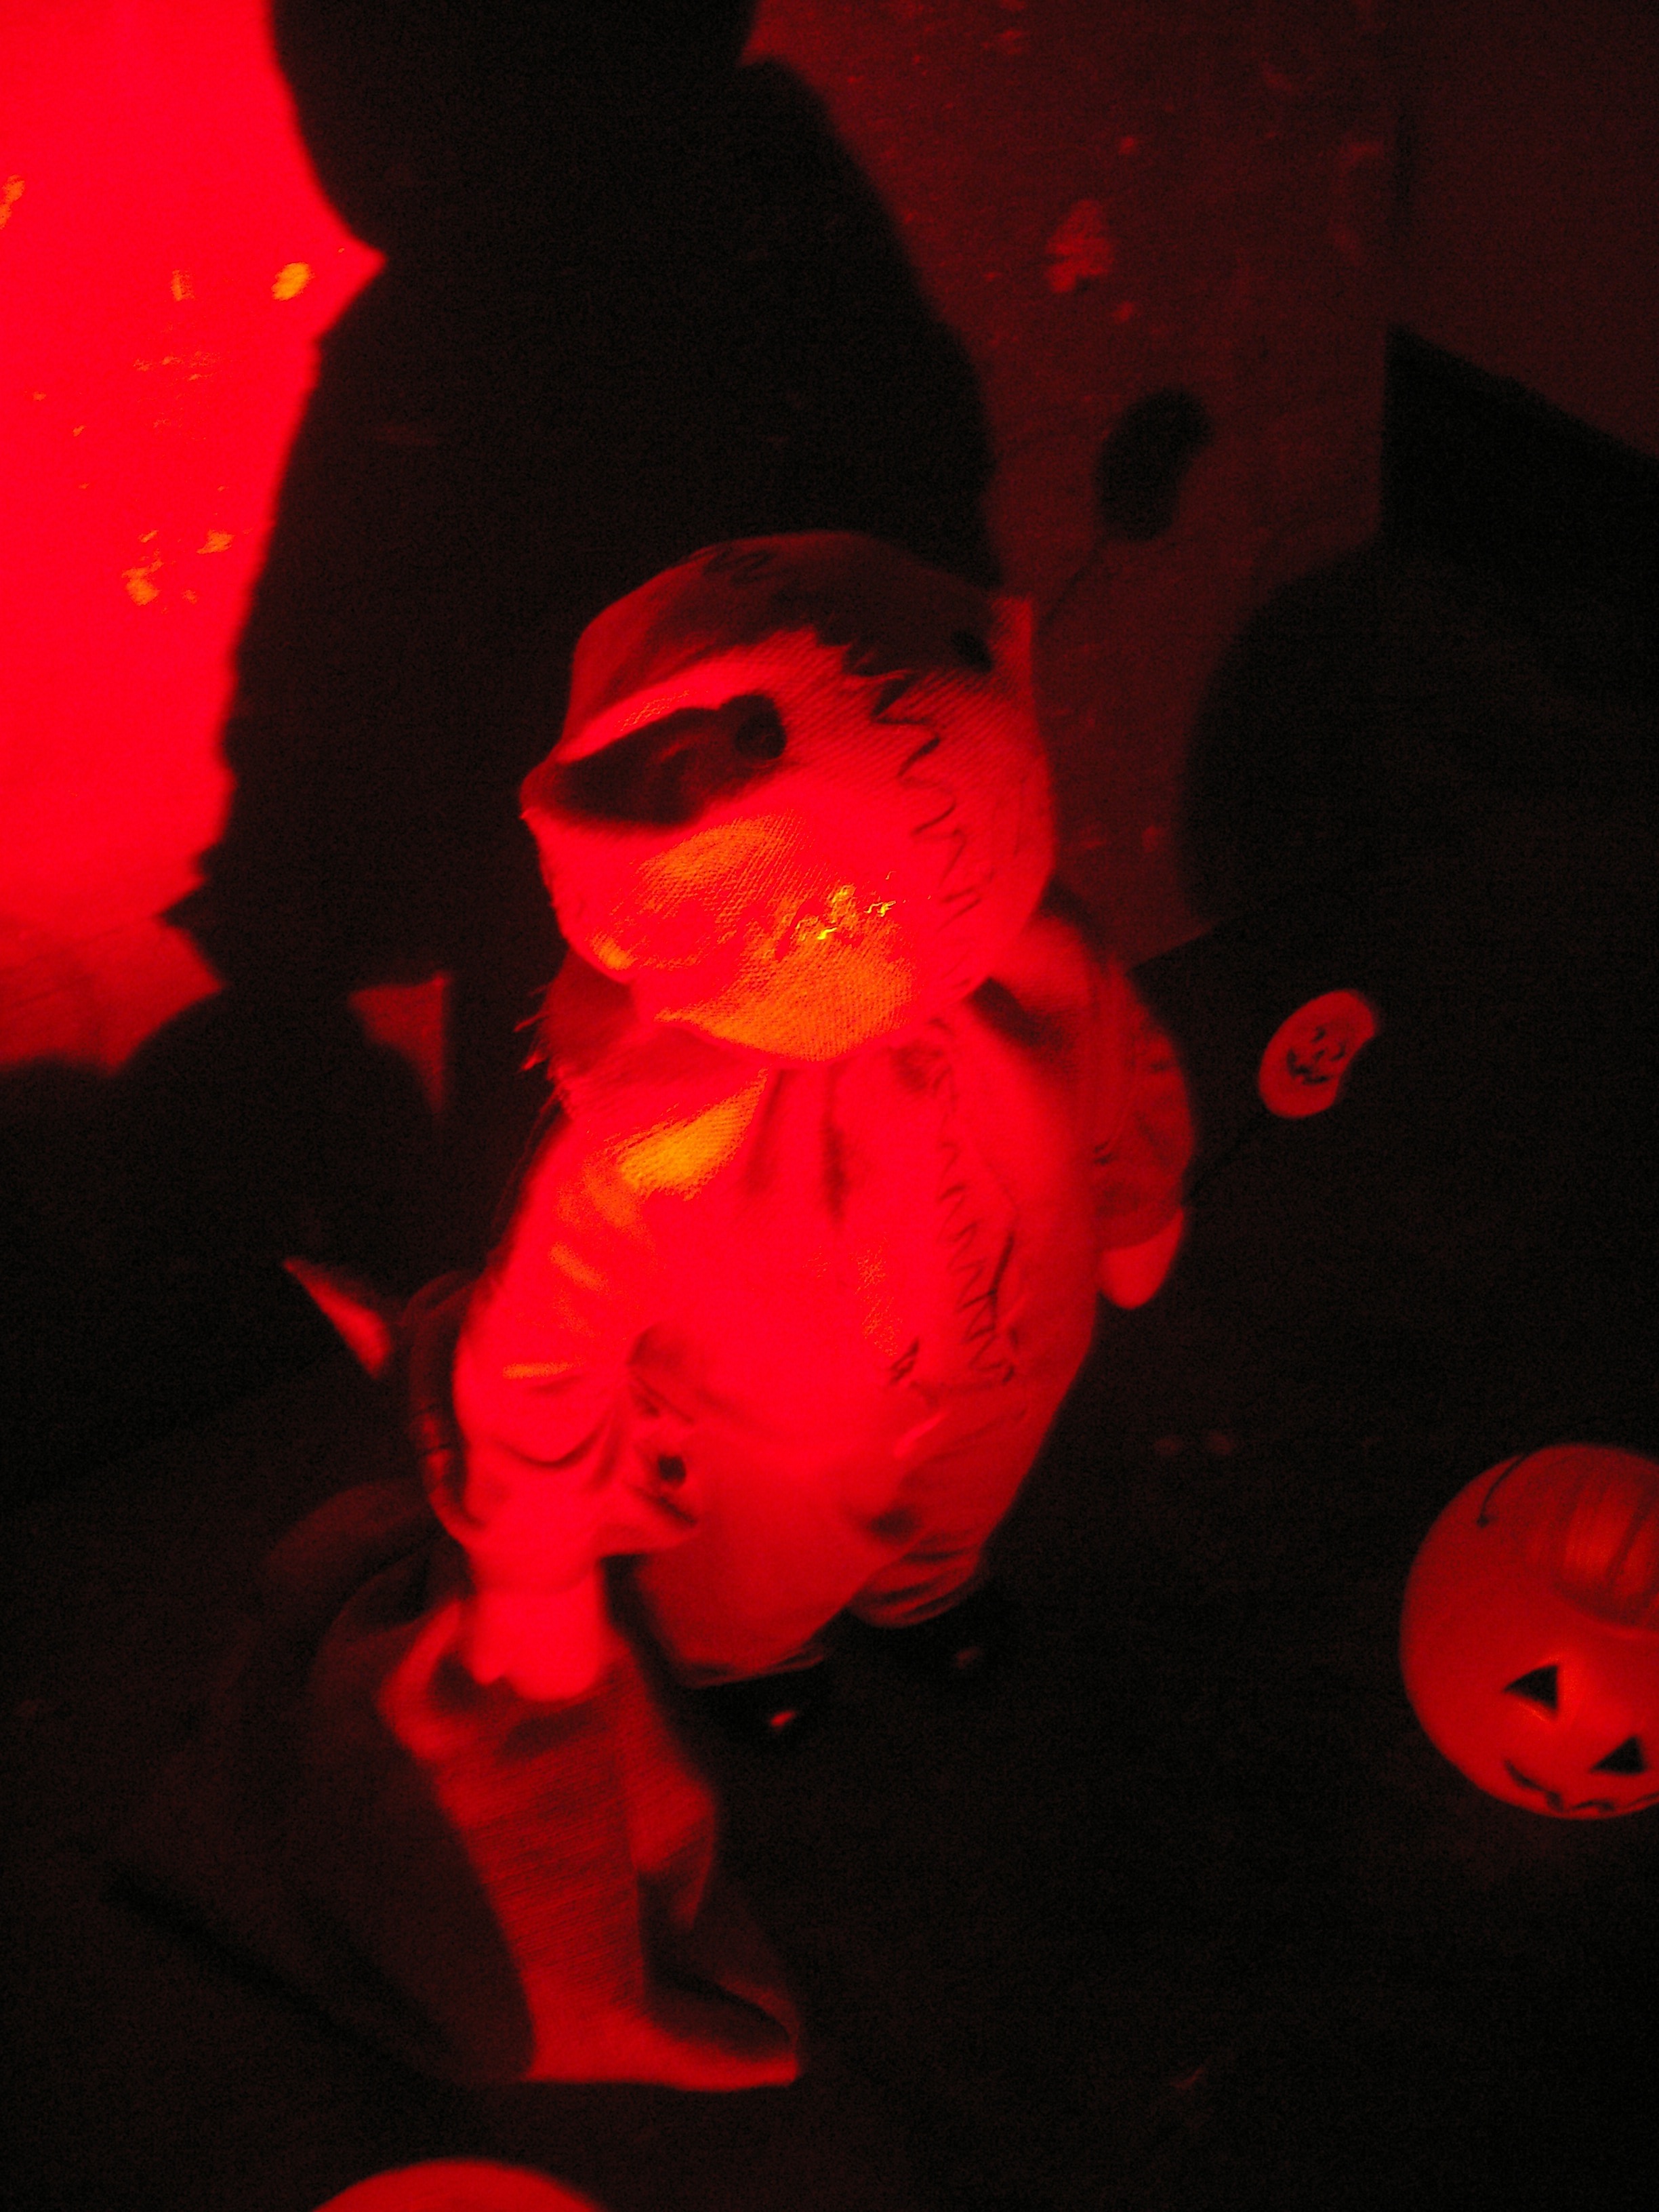
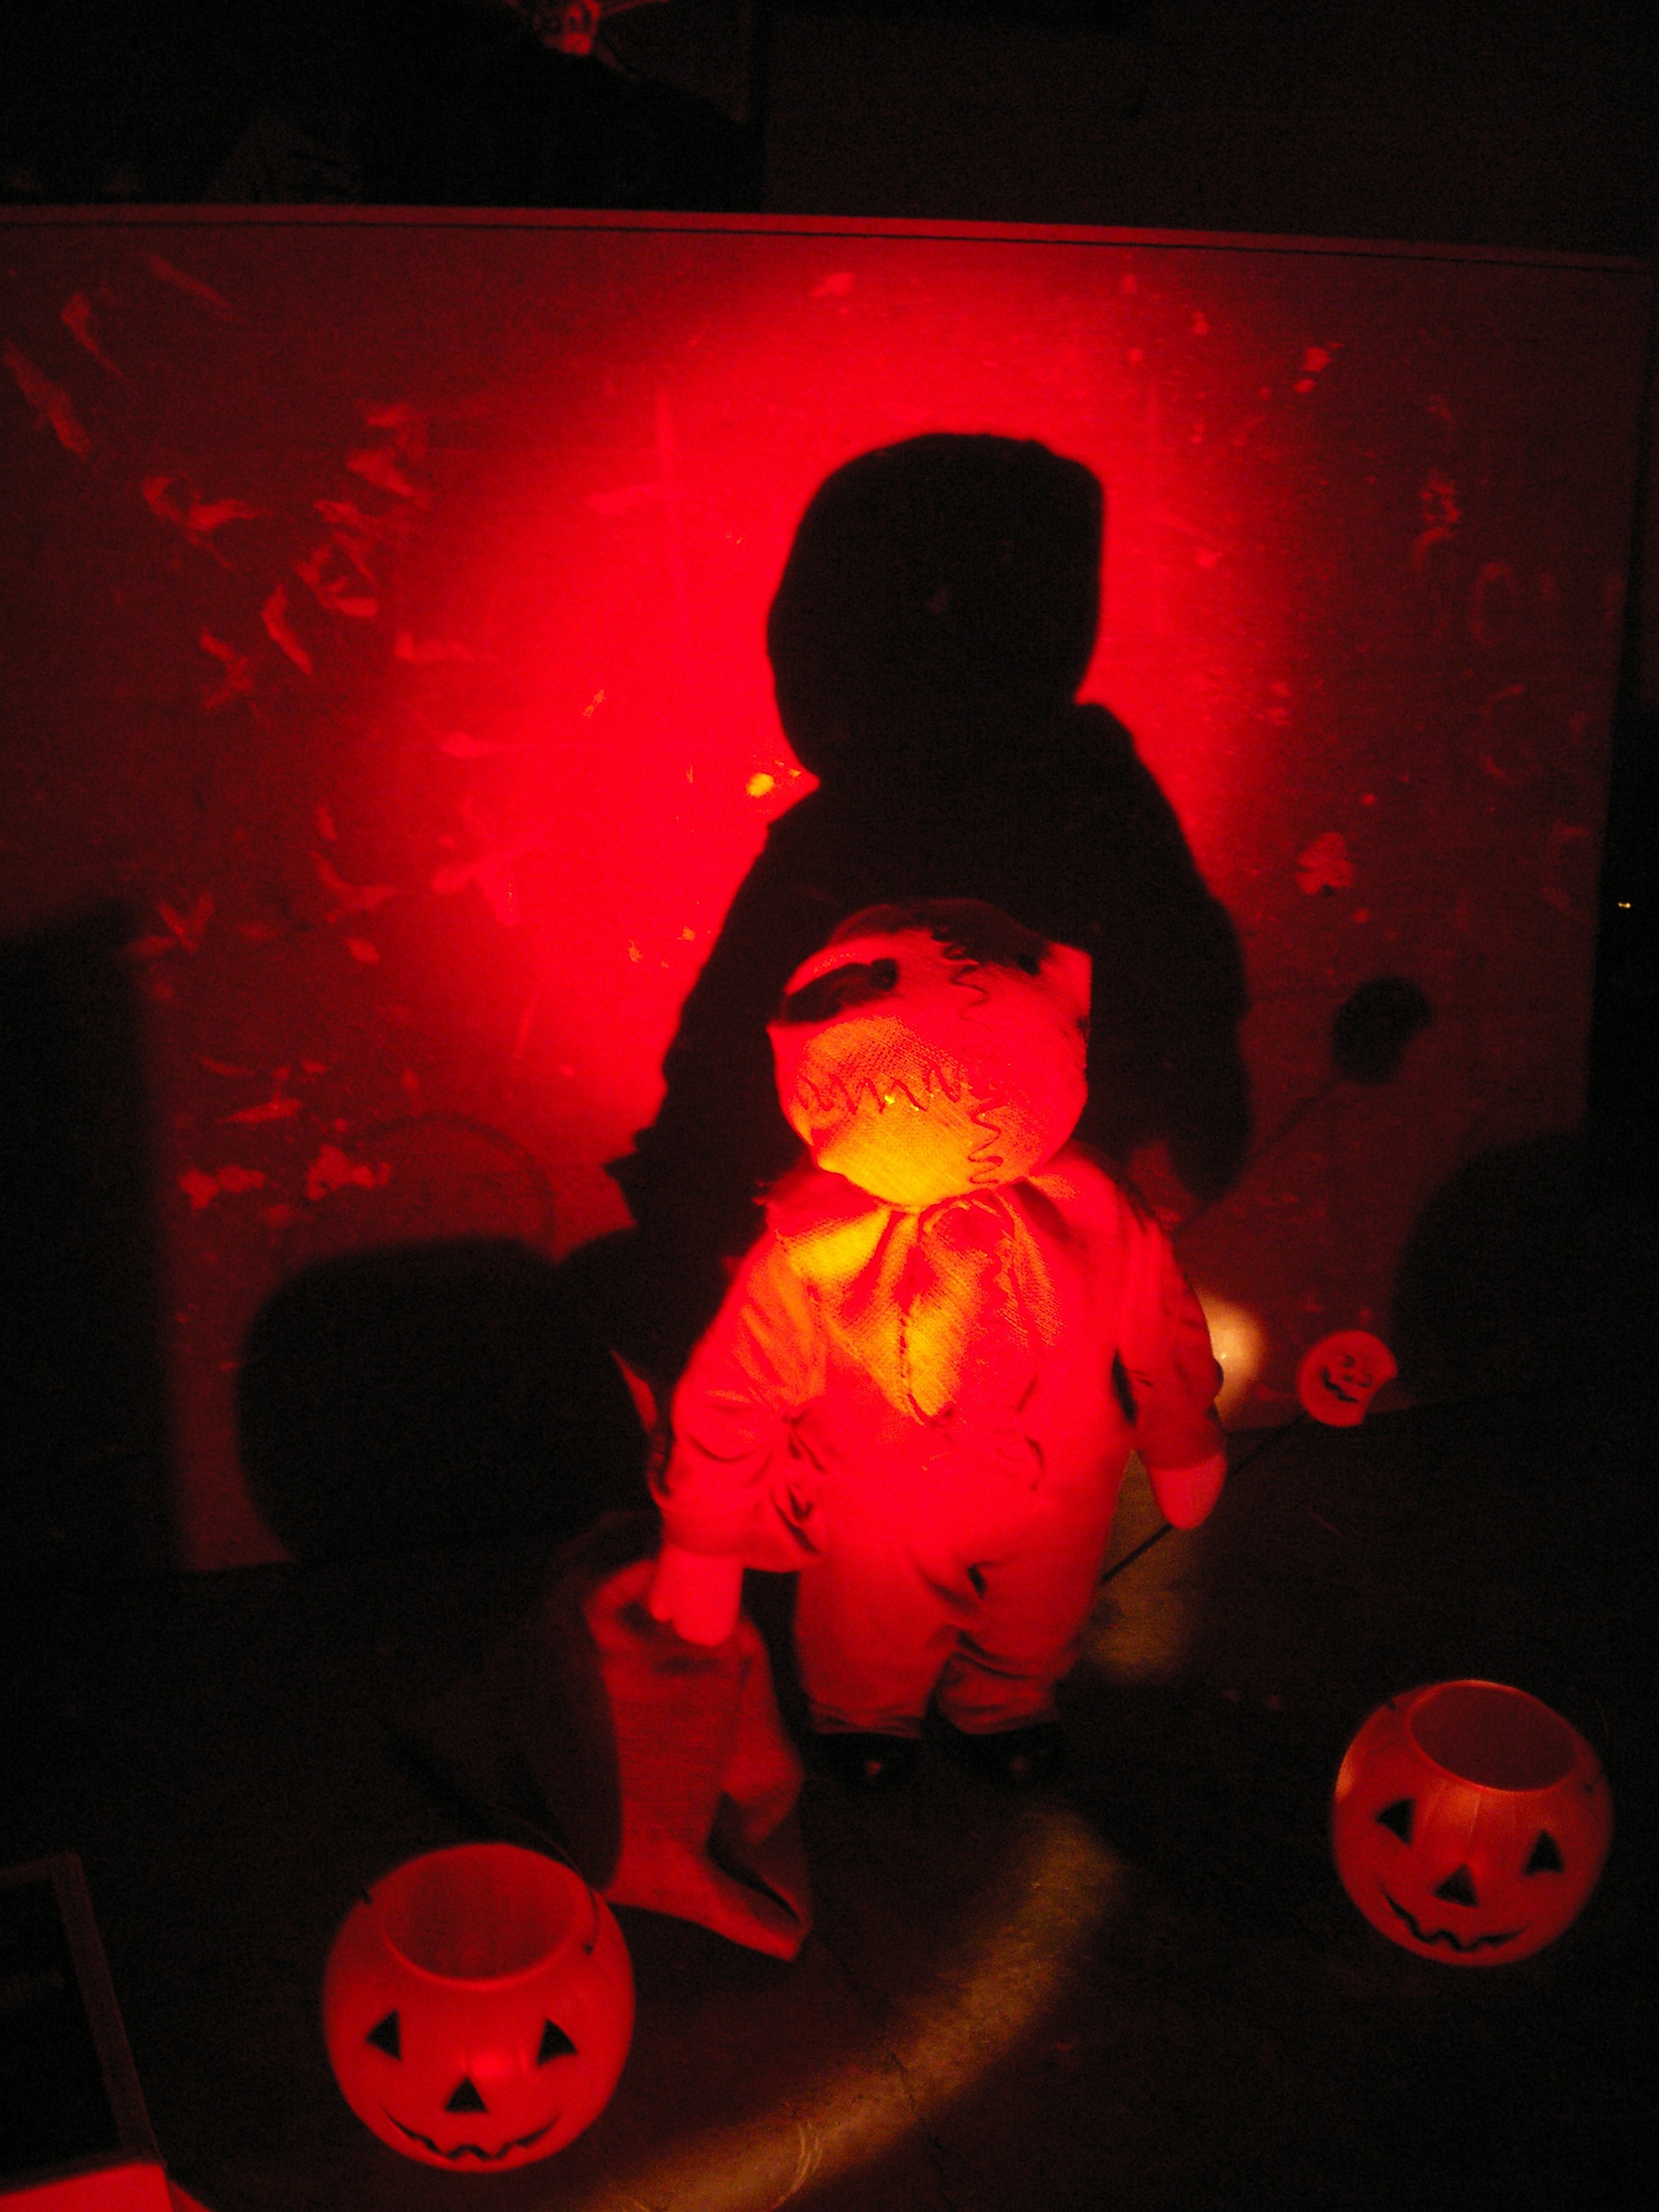
Now, I don’t want this to be my Halloween post because we actually don’t have much of our stuff outside just yet, but I’m so excited about the construction of our Sam that I had to share. Before I had dragged any wood out from my building, we hit up a Goodwill to look for Sam’s costume. While we came out of that store with a long-sleeved orange shirt that would work perfect for his costume (and almost exactly what we came for) we also came away with three items we later came to learn are called “Corner Kids.” One of these 3 1/2 feet tall kids with their hands attached to their faces would be a PERFECT base for our Sam so we did what any other sane folks would do and we bought all three of them.
Sparing details on the remaining children for another post, we hit up a craft store and picked up some rope and burlap material that would make up his “mask” and candy bag then we scored big at Michael’s when we found a wand and a cupcake stencil that when put together would make a perfect lollipop like the character had in the film. For his head, we picked up a jack-o-lantern candy bucket from Target ($1.00), put it upside down over the character’s existing head and filled in the remainder with old newspapers for size and roundness. The remaining items – string to make the seams for his face, buttons for his eyes, and fabric glue to attach everything, wood to act as the wall and paint to add the words – were all items we had on hand.
Equipped with our tools, found items and a source photo that was shoddy because I’m too cheap to buy more black ink for my printer, we spent only two nights putting together what might be my favorite Halloween prop that has come out of the Simpson residence yet. After the threat of rain passes (today and tomorrow) we should be ready to put all of our stuff outside. Sam will be on our front porch with a red spotlight on him surrounded by a couple more jack-o-lantern buckets with candles in them. Once everything is set up, be prepared for a post containing lots of photos and possibly another video. As for now:

And here’s how we did it:

You guys rock! : )
LikeLike